The Importance of using Webpack with React
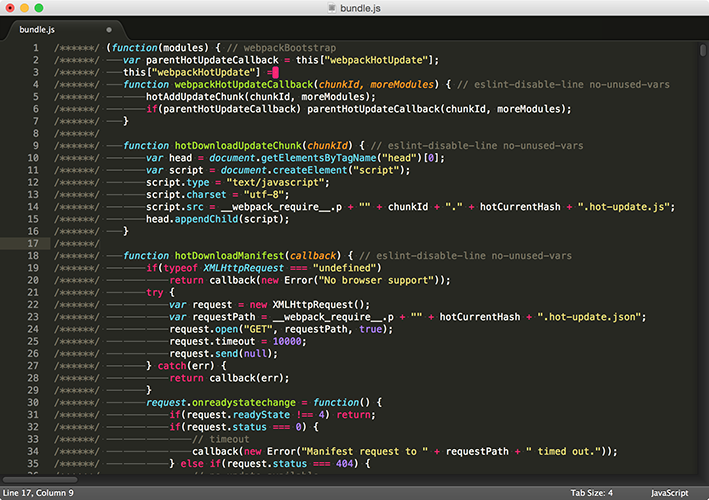
When you run webpack in your terminal window it builds your React application and places it into the dist folder you made earlier so you can try it. In fact, it's there right now: if you look in dist you'll see a file called bundle.js that's surprisingly large – mine is 940KB!
If you open it in a text editor you'll see all sorts of code that you didn't write. Don't worry: your single line of JavaScript is in there somewhere all wrapped up (try searching for it!) but all the rest of the stuff is important too because it lets use React.
Running webpack straight from the command line proves that it works, but it's not how we'll be using it. This is because alongside Webpack we also installed Webpack Dev Server, which is the smartest, simplest way to build React applications – and it's what we'll be using from now on.
So, please run this command now:
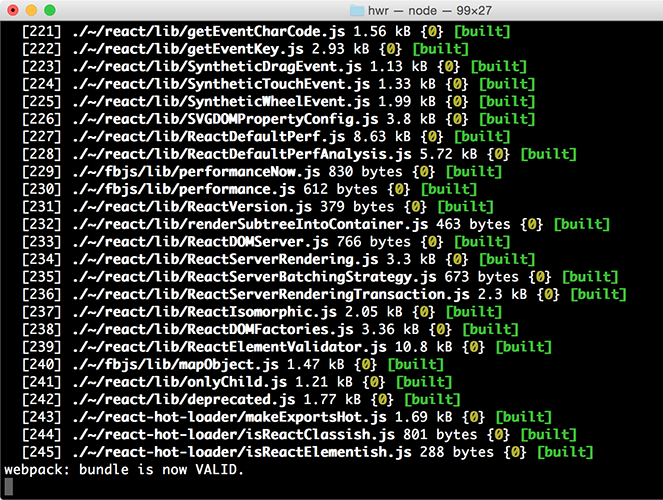
webpack-dev-serverYour computer will think for a few seconds then lots of text will whizz by, but hopefully the last line says "webpack: bundle is now VALID."
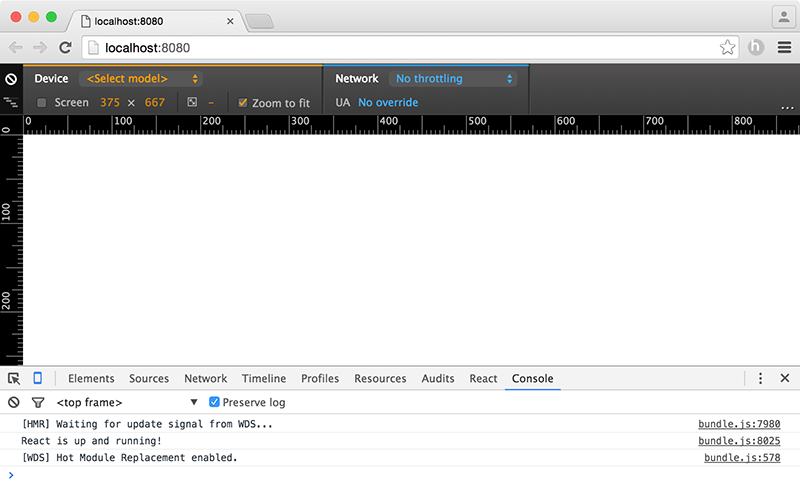
Now for the clever bit: open your web browser and point it at the address http://localhost:8080. This is your local computer running Webpack Dev Server – not only has it built your app for you, but it's also serving that app up so you can try it live.
Right now our code doesn't do anything, but you should be able to to your web browser's developer console and see the message "React is up and running!" printed there.
- Chrome users: go to the View menu and choose Developer > JavaScript Console.
- Safari users: go to the Develop menu and choose Show Error Console. If you can't see the develop menu, go to Safari > Preferences, select the Advanced tab, then make sure the "Show Develop menu in menu bar" checkbox is checked.
- Firefox users: go to the Tools menu and choose Web Developer > Web Console.
This shows that our basic configuration is all done, and it's time to start some React coding. You may also see a warning that favicon.ico could not be found, but that's nothing to worry about.
Note: if you're a Chrome user, you will find the React Chrome Developer Tools very useful when debugging your React apps.
Buy the book for $10
Get the complete, unabridged Hacking with React e-book and take your learning to the next level - includes a 45-day no questions asked money back guarantee!
If this was helpful, please take a moment to tell others about Hacking with React by tweeting about it!
Copyright ©2016 Paul Hudson. Follow me: @twostraws.