Linting React using ESLint and Babel
We're done with testing now, but our code still isn't perfect. You see, all this time I've been making you write perfectly functional but ever-so-slightly broken code. Please don't get angry and send me raging emails: this was all intentional, because I wanted to teach you one last important thing and needed some test cases.
The last step in our project is to add linting, which is the process of automatically looking at the way we have written our code to try to detect possible mistakes or inconsistent styles. The code we've written so far hasn't been linted at all yet, which means it has many tiny inconsistencies that need to be cleaned up in order for our code to be perfect.
Now, it's possible you're thinking "who cares about tiny inconsistencies?" But it turns out these inconsistencies are important: if your coding style isn't consistent, it takes other developers that little bit longer to understand your code, which just causes unnecessary friction. And of course it's always possible that linting will spot actual serious problems in your code – that's not going to happen here because I've helped you, but in the future it's always possible.
To get started, we need to install some linting tools. Please run this command in a terminal window:
npm install --save-dev eslint babel-eslint eslint-plugin-reactESLint is a fast, modern linter that scans source code written in ES6. I've included the babel-eslint and eslint-plugin-react packages as well, because we're using JSX that needs to be read in by Babel before it hits ESLint.
Just like we did with testing, we're going to add a dedicated command to lint our code. To do this, open package.json in your text editor and modify the scripts section to this:
package.json
"scripts": {
    "test": "jest --verbose",
    "lint": "eslint src"
},
Make sure you have a comma on the end of the "test" line otherwise your package file will be invalid.
That new "lint" command tells ESLint to read our src directory, which is all we need.
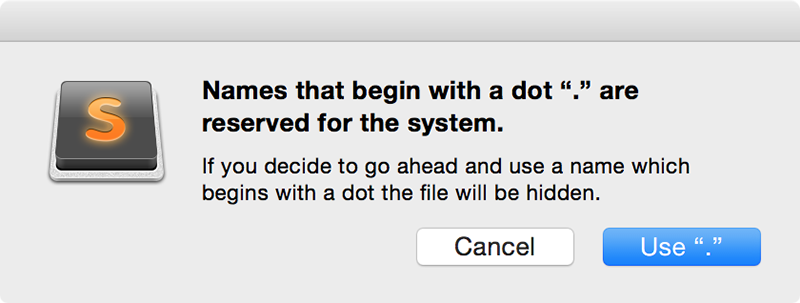
There's just one more configuration step required, which is to create a basic ESLint configuration file. This is rather unhelpfully named .eslintrc, and that leading period means the file will be invisible to Mac and Linux users. Create a new file in your text editor and give it this initial content:
.eslintrc
{
    "parser": "babel-eslint",
    "env": {
        "browser": true,
        "node": true
    },
    "rules": {
        "quotes": [2, "single"]
    }
}
Now save it with the exact name .eslintrc. If you're smart, you'll leave the file open in your editor because it's hidden.
Save that file, then run npm run lint in your terminal window. It will think for a moment or two then do nothing – but that doesn't mean our code is perfect, just that ESLint is installed and ready to be configured.
Buy the book for $10
Get the complete, unabridged Hacking with React e-book and take your learning to the next level - includes a 45-day no questions asked money back guarantee!
If this was helpful, please take a moment to tell others about Hacking with React by tweeting about it!
Copyright ©2016 Paul Hudson. Follow me: @twostraws.