How to Configure Jest to Test React and ES6
To get started, we need to add some extra development dependencies by running this command in a terminal window:
npm install --save-dev jest-cli babel-jest react-addons-test-utilsAs before, you'll need to press Ctrl+C to quit Webpack Dev Server before you run that, but this time I don't want you to restart Webpack Dev Server when the npm command finishes. We're done with it – it's all testing now!
We're going to start our tests in a new subdirectory of our project. We already have dist for our finished files, node_modules for all the NPM things we use, and src for our ES6 source code. But I want you to create a fourth folder now:
mkdir __tests__That's two underscores, the word "tests", then two more underscores. Please name it exactly that otherwise your tests will not work. With that done, we're going to modify our package.json file so that it knows to call Jest when we ask it to run tests. Open your package.json file now and you'll see a line like this:
package.json
"test": "echo \"Error: no test specified\" && exit 1"Please change it to this:
package.json
"test": "jest --verbose"While you're there, we need to insert some configuration settings to enable Jest to work with React and ES6. Look for "devDependencies" and put this directly before it:
package.json
"jest": {
    "scriptPreprocessor": "<rootDir>/node_modules/babel-jest",
    "unmockedModulePathPatterns": [
        "<rootDir>/node_modules/react",
        "<rootDir>/node_modules/react-dom",
        "<rootDir>/node_modules/react-addons-test-utils",
        "<rootDir>/node_modules/fbjs"
    ]
},
The final version should look like this:
package.json
{
"name": "hwr",
"version": "1.0.0",
"description": "",
"main": "index.js",
"scripts": {
"test": "jest --verbose"
},
"keywords": [],
"author": "",
"license": "ISC",
"babel": {
"presets": [
"es2015",
"react"
]
},
"jest": {
"scriptPreprocessor": "<rootDir>/node_modules/babel-jest",
"unmockedModulePathPatterns": [
"<rootDir>/node_modules/react",
"<rootDir>/node_modules/react-dom",
"<rootDir>/node_modules/react-addons-test-utils",
"<rootDir>/node_modules/fbjs"
]
},
"devDependencies": {
"babel-core": "^6.7.2",
"babel-jest": "^9.0.3",
"babel-loader": "^6.2.4",
"babel-preset-es2015": "^6.6.0",
"babel-preset-react": "^6.5.0",
"jest-cli": "^0.9.2",
"react-addons-test-utils": "^0.14.7",
"react-hot-loader": "^1.3.0",
"webpack": "^1.12.14",
"webpack-dev-server": "^1.14.1"
},
"dependencies": {
"chance": "^1.0.1",
"history": "^2.0.1",
"react": "^0.14.7",
"react-dom": "^0.14.7",
"react-router": "^2.0.1",
"superagent": "^1.8.0"
}
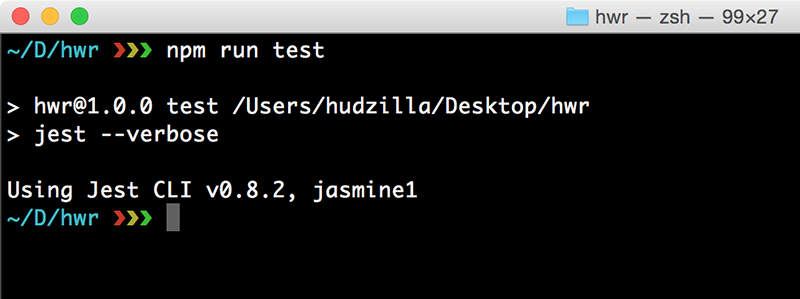
}With that change saved, we can now run our test through Jest by running this command:
npm run testOf course it doesn't actually do anything yet other than print its version number, because we haven't written any tests. Let's do that now…
Buy the book for $10
Get the complete, unabridged Hacking with React e-book and take your learning to the next level - includes a 45-day no questions asked money back guarantee!
If this was helpful, please take a moment to tell others about Hacking with React by tweeting about it!
Copyright ©2016 Paul Hudson. Follow me: @twostraws.